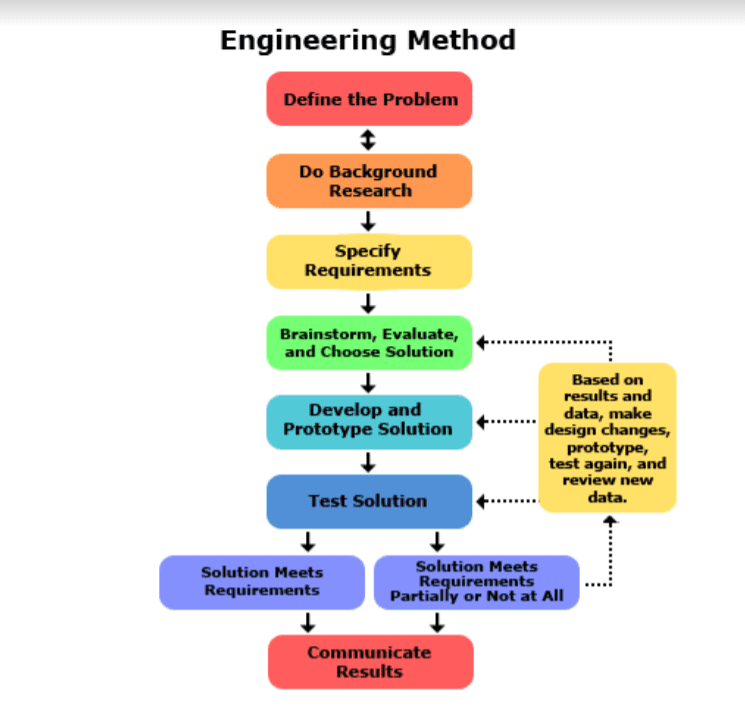
Engineering Design Process
To start with, we had to define the problem we would try to solve. The main problem we wanted to solve was the negative effects on the spine, neck, and ribcage caused by heavy backpacks in youths. Alongside this problem, we also decided to try to solve the problem of becoming an unorganized student because of your lack of preparedness. We would create a backpack that was more practical for students to use during school days. This backpack, we decided, should meet everyone's wants and needs throughout their school careers.
Next, we had to do background research. This link will direct you to our research page.
After our research, we had to specify our requirements. This meant that we needed to have an idea of all the materials we would be using; fabric, nylon, wheels, a luggage handle, power banks, and some padding.
Then we brainstormed our plan. To start with, everyone had different ideas and opinions of where and how we should place the pockets, what should go into our backpack, and how our backpack was going to work. We created scale drawings and drawings that showed different compartments and features of the backpack. Eventually, we created a design that everybody agreed with, using bits and pieces of everyone's unique and original ideas.
|
|
|
While meeting with a teacher at our school who knew about using a sewing machine, we agreed on all the next steps we had to take to make a solid backpack.
First, we made a scale pattern representing the layers and aspects of the backpack (which we would later use to cut out the materials) as well as planning out a descriptive schedule of the building process to make sure that we would finish our work on time. |
|
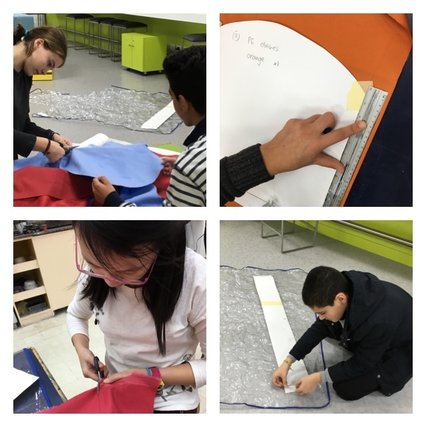
Next, we had to trace the scale pattern onto the different fabrics and materials that would be used in making a backpack. This step took a while, as we had to repeat this step multiple times in order to get it right. We also traced the pattern on the fabric with over 3 centimeters of excess space to make room for mending the layers together using the sewing machine.
|
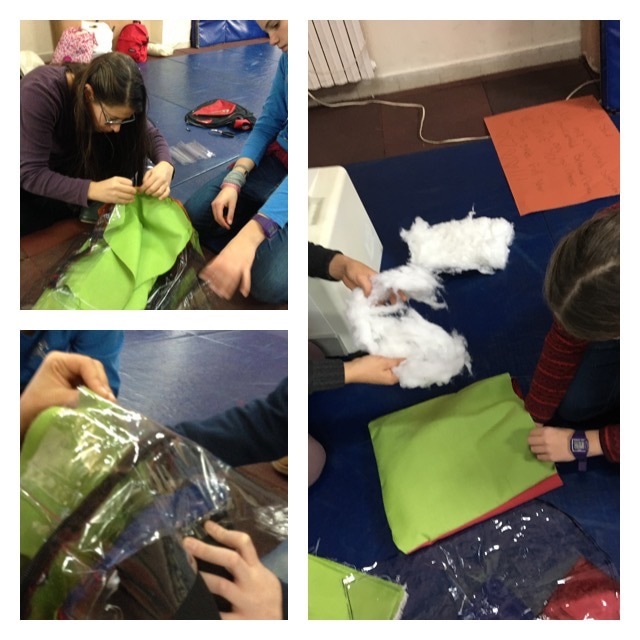
After creating a sewing pattern, we had to actually do the sewing, of course. We gathered the material and cut out pieces of fabric, using our pattern to do so. We used a sewing machine and put together the backpack. This sewing took place whenever the sewing machine was available, so the sewing stretched out for a long time. Meanwhile we also created a website (this) to virtually present our work. Of course, we were adding to and updating our research paper every week.
|
|
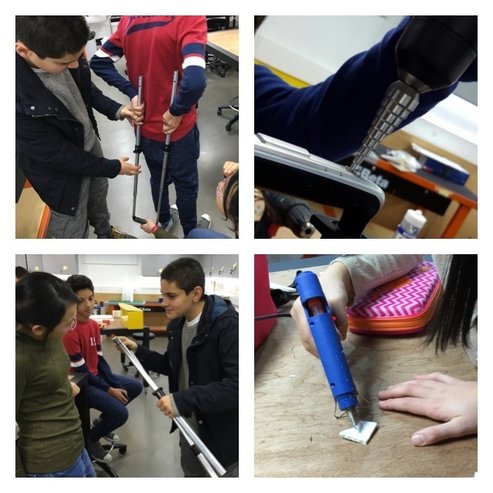
Then came the issue of the mechanism. We had to make sure it was the correct length, locked into place, and supported all of the weight properly. After a whole bunch of sawing and hammering around, we managed to retrieve the handle and wheels from a luggage. Our plan was to attach wheels to our mechanism in order for the mechanism to be able to move around. We easily removed the wheels from the luggage we had used the mechanism of, and then attached it to the bag with the wheels.
|
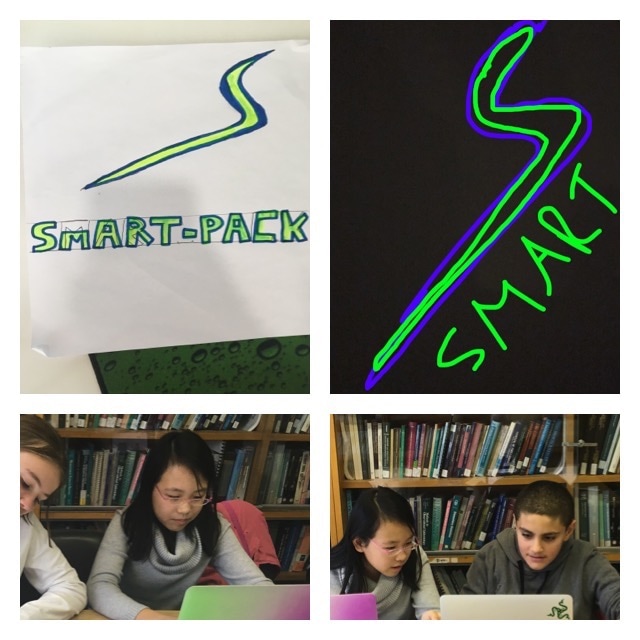
Finally, we added the final touches to our backpack, as well as designing our logo. Also, we finalized everything on this website to be ready for publishing.
|
|
Reflection On Results
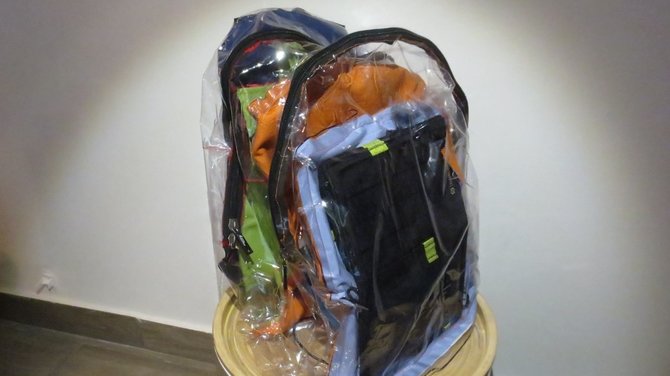
After months of hard work, we are happy with our final prototype. Even thought the mechanism did not work out as we hoped, it still does its job, so we are really happy with the results. The extra features, such as the solar powered power bank and the GPS tracker worked perfectly. As well as the backpack being 100% waterproof, the mechanism does relieve all weight and stress from the user's back, making it literally a bag that carries its self. We succeeded in making the backpack a sturdy and strong backpack, as we made sure to use multiple layers of waterproof materials on the outside, plus colourful compartments on the inside to make sure that the backpack would not fall apart. The main struggle of this whole project was the mechanism. We struggled to making all the different aspects of it stick together without damaging any of the actual mechanism. We ended up puncturing holes in it, and used nails and bolts to attach the two luggage handles together. This resulted in a firm mechanism that could remove all weight and pressure from the enjoyer's back.
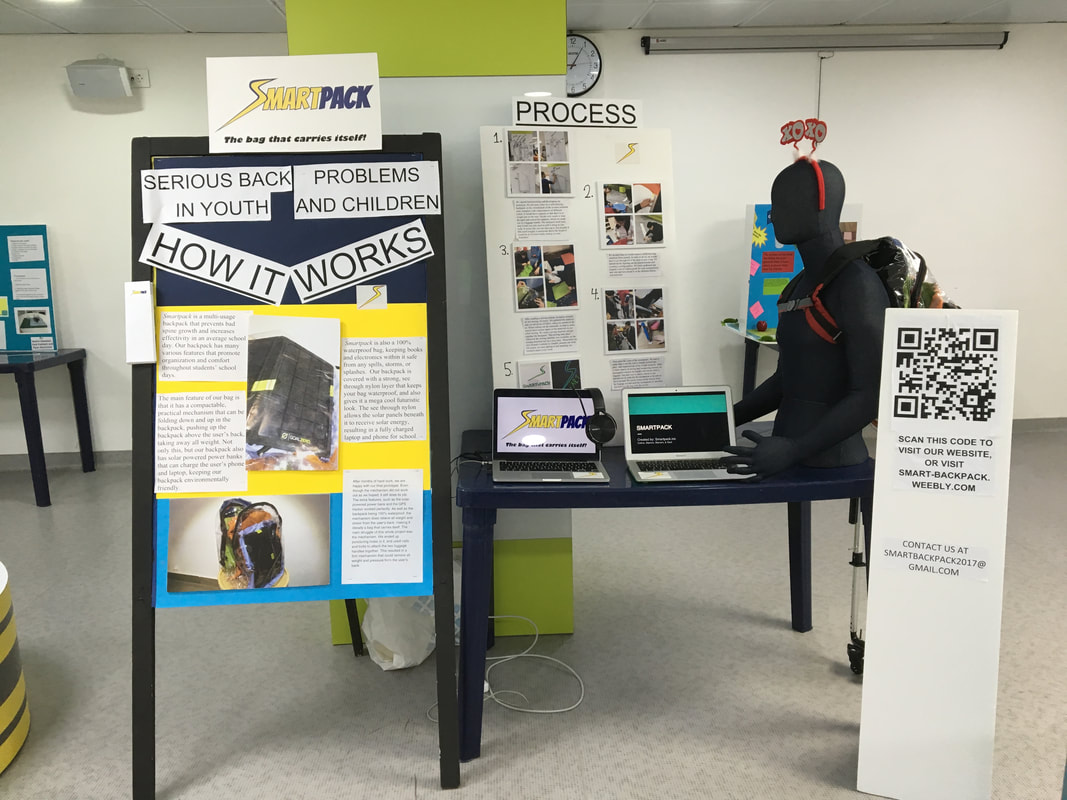
Scroll Down for picture of Science Fair Stand
Scroll Down for picture of Science Fair Stand